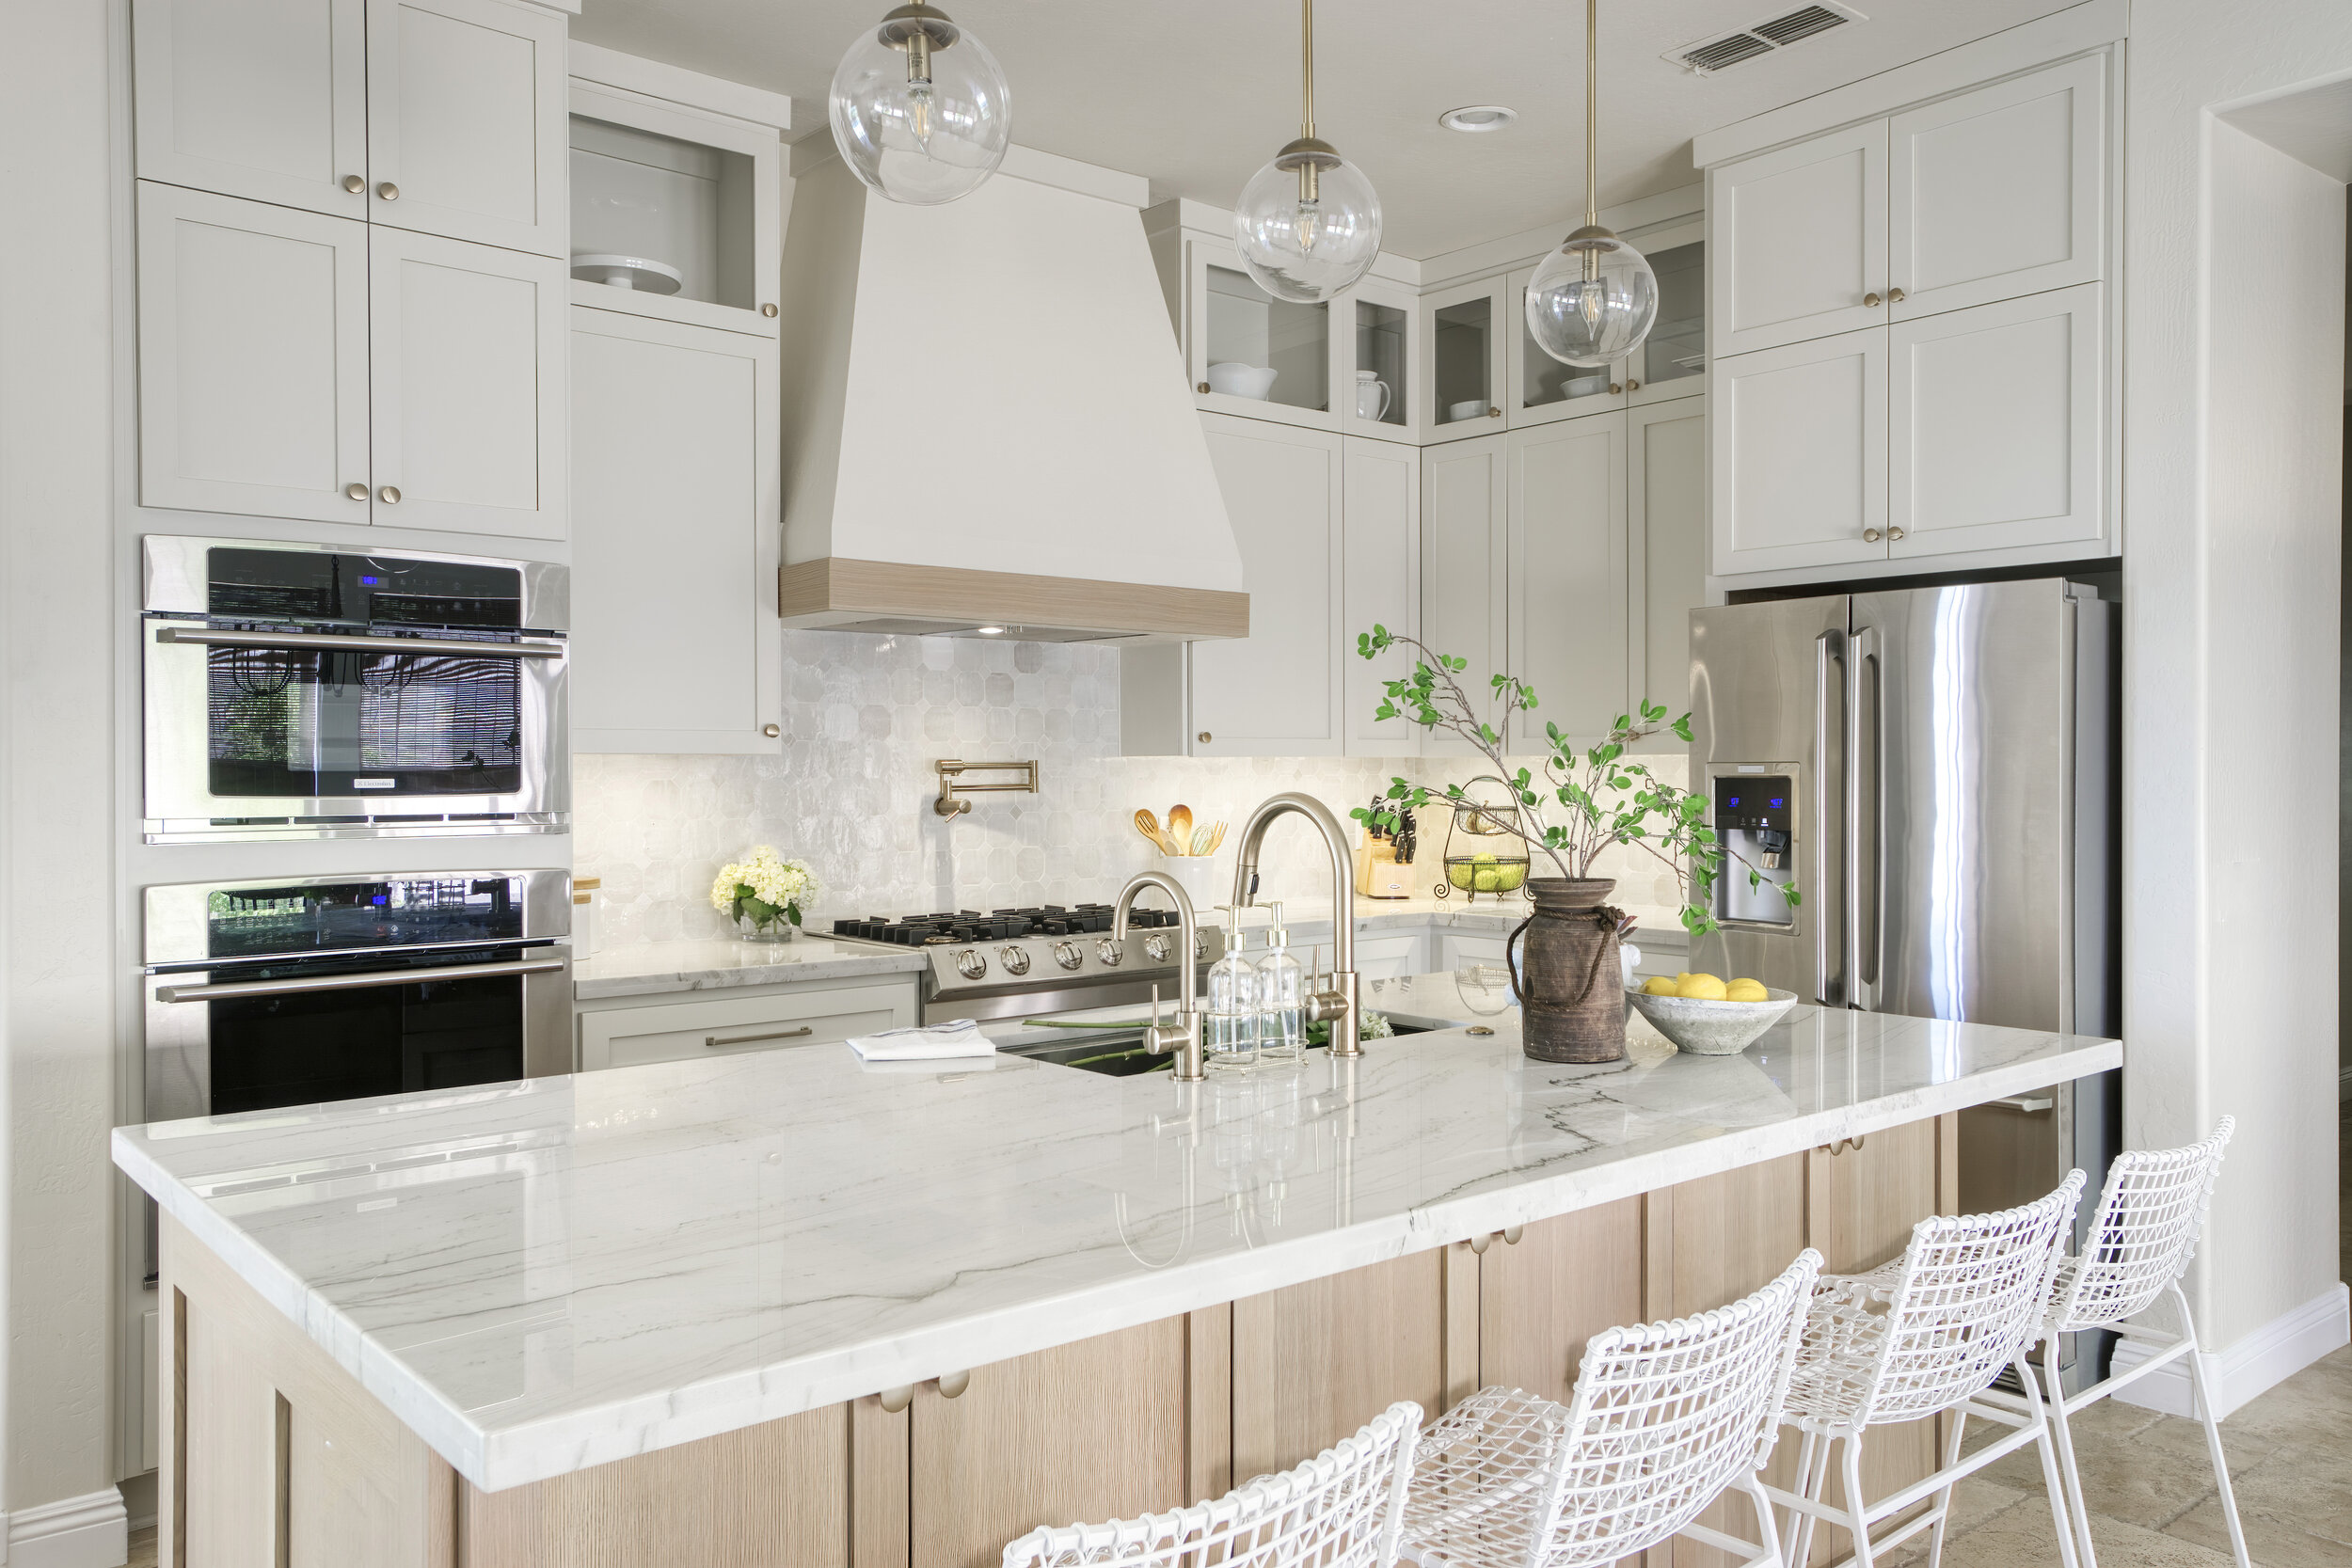
We are so excited to finally reveal the before and after of one of our most recent kitchen remodels. This kitchen was also featured here on Becki Owens Transformation Tuesday. The original kitchen was dark and dreary. It felt small and had a weird flow to it. We decided to take the new cabinets to the ceiling and enlarge the island to make the kitchen feel bigger. We also flip flopped the refrigerator and the wall oven to make the kitchen flow better. Wouldn’t you want your wall oven right next to your stove top? These are the details we think about when designing a new kitchen.

BEFORE

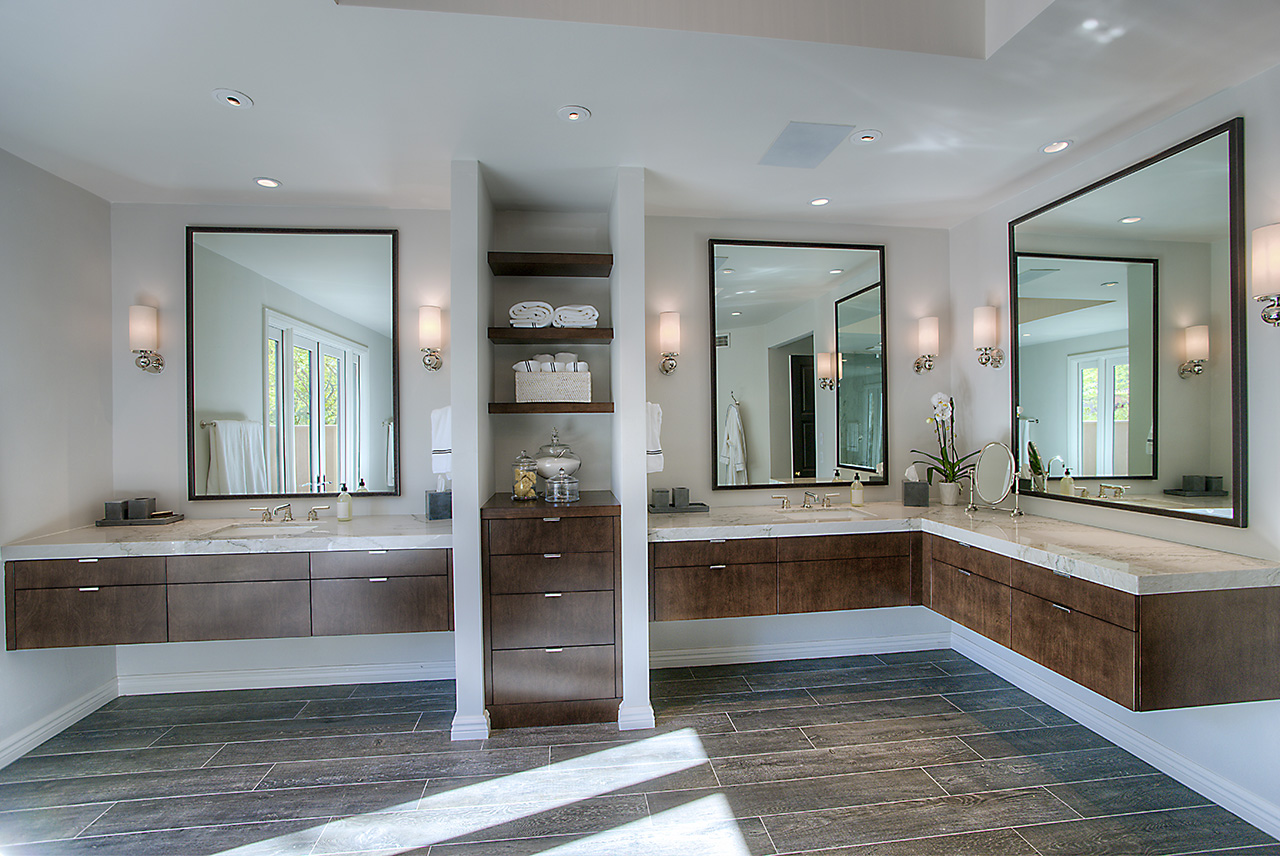
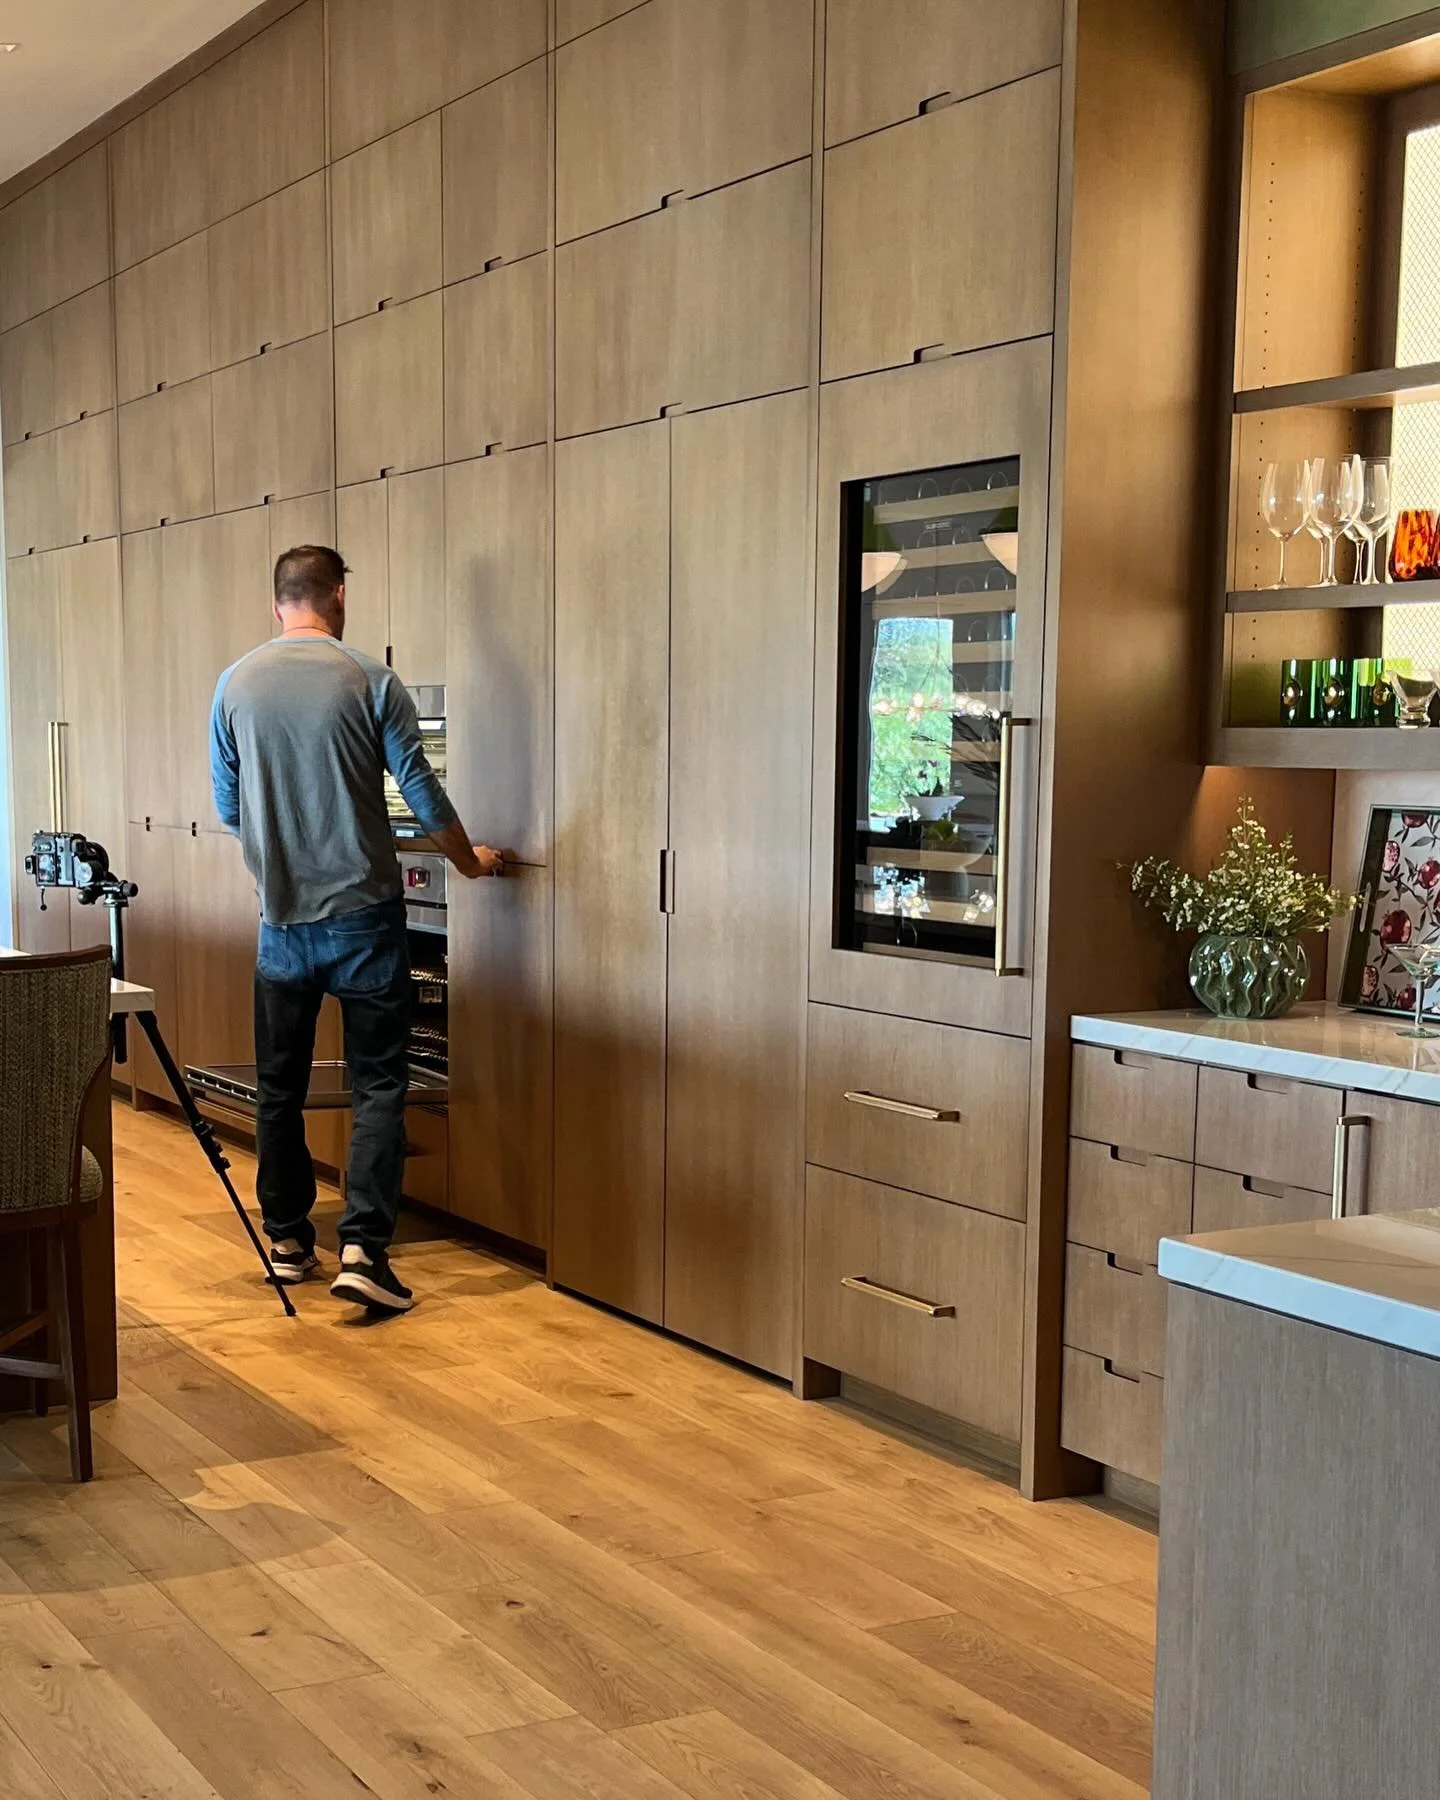
AFTER
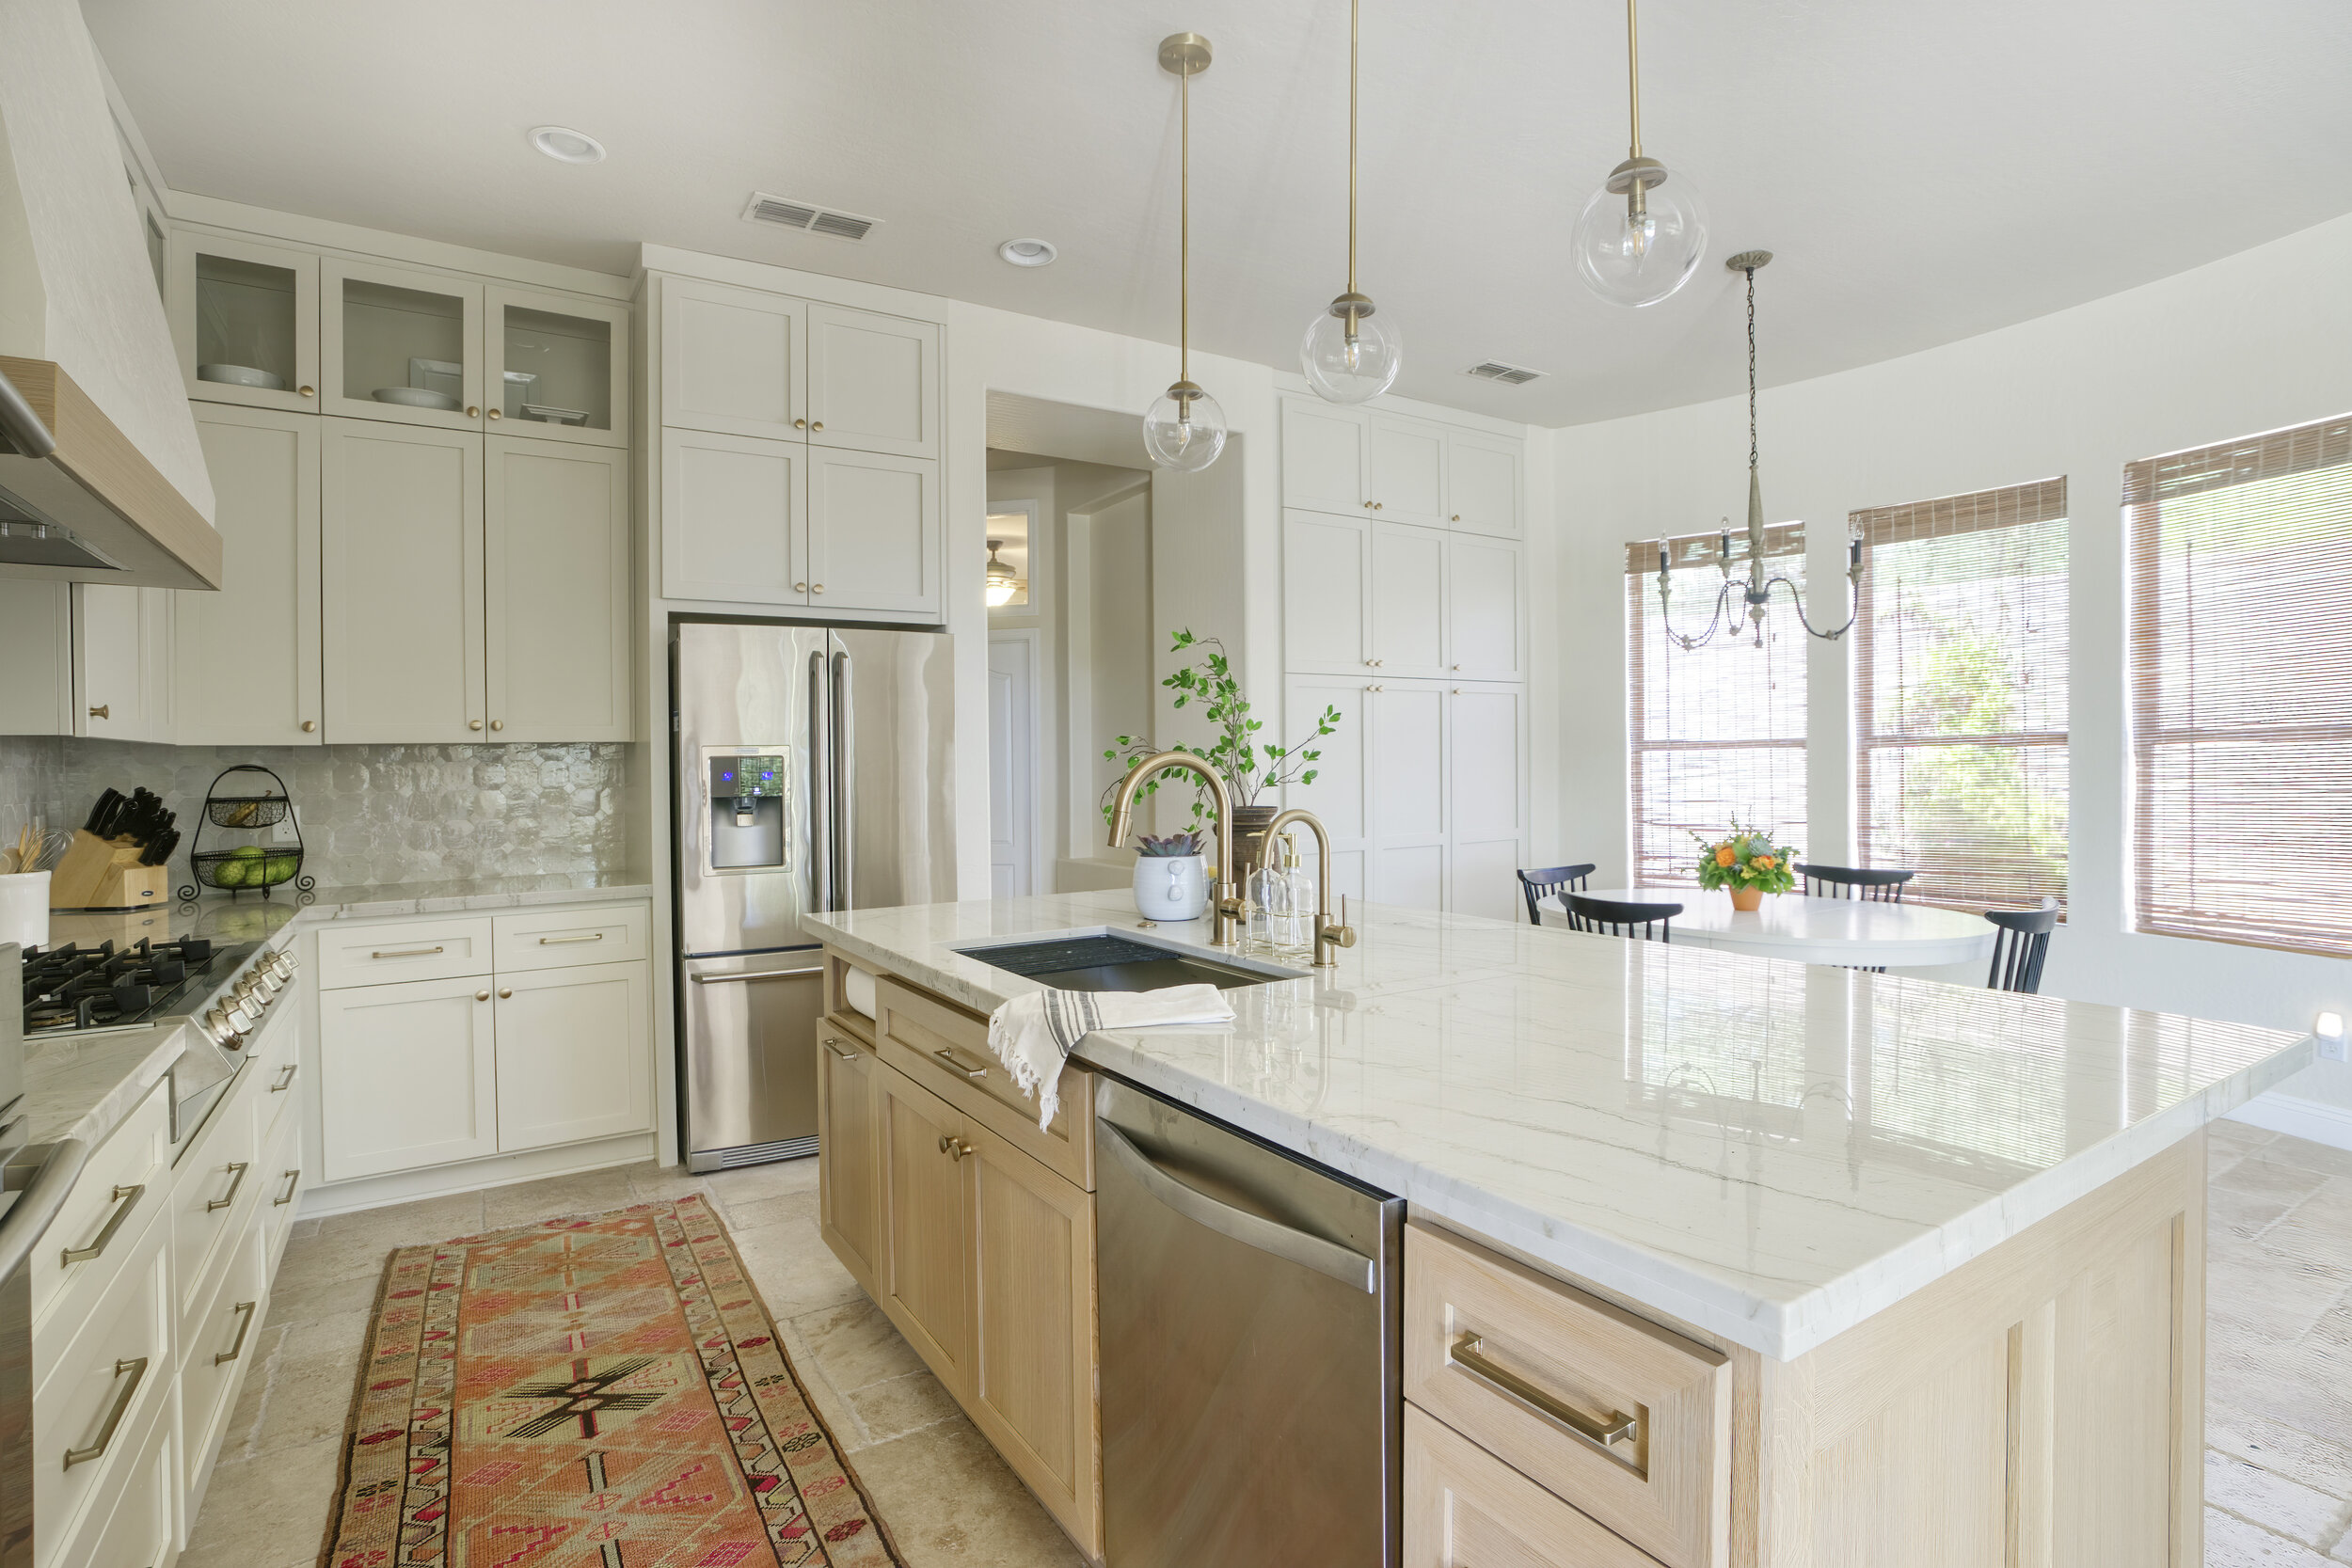
The pantry space for this kitchen is built-in in the breakfast nook. Originally the pantry cabinets were an odd shape and made the room seem off balance. We decided to take the new cabinets to the ceiling as well as widened them to take up the entire wall. This gave our clients tons more storage plus made the cabinets feel like they should be there and not just an add on.
BEFORE

AFTER


Now you have a light, bright and airy kitchen with bigger oak island, new cabinets to the ceiling, quartzite countertops and large pantry cabinets. Sometimes just the simplest of things like taking the cabinets to ceiling can make a big impact on your design.